Types and Styles of 7-Inch Kitchen Cabinet Handles

Choosing the perfect 7-inch kitchen cabinet handle can significantly elevate your kitchen’s aesthetic and functionality. The right handle not only complements your design style but also ensures comfortable and efficient use for years to come. Let’s explore the diverse world of 7-inch cabinet handles, considering both their visual appeal and practical aspects.
Seven-Inch Cabinet Handle Styles and Materials
A wide array of styles and materials are available for 7-inch cabinet handles, offering endless possibilities to match your kitchen’s personality. Consider these five popular styles:
- Cup Pulls: These handles feature a recessed cup-like design, offering a sleek and minimalist look. They are often made from metal, such as stainless steel, brushed nickel, or polished chrome, and can range from simple, round shapes to more elaborate, geometric designs. The recessed design minimizes protrusion, making them ideal for kitchens with limited space or a modern aesthetic.
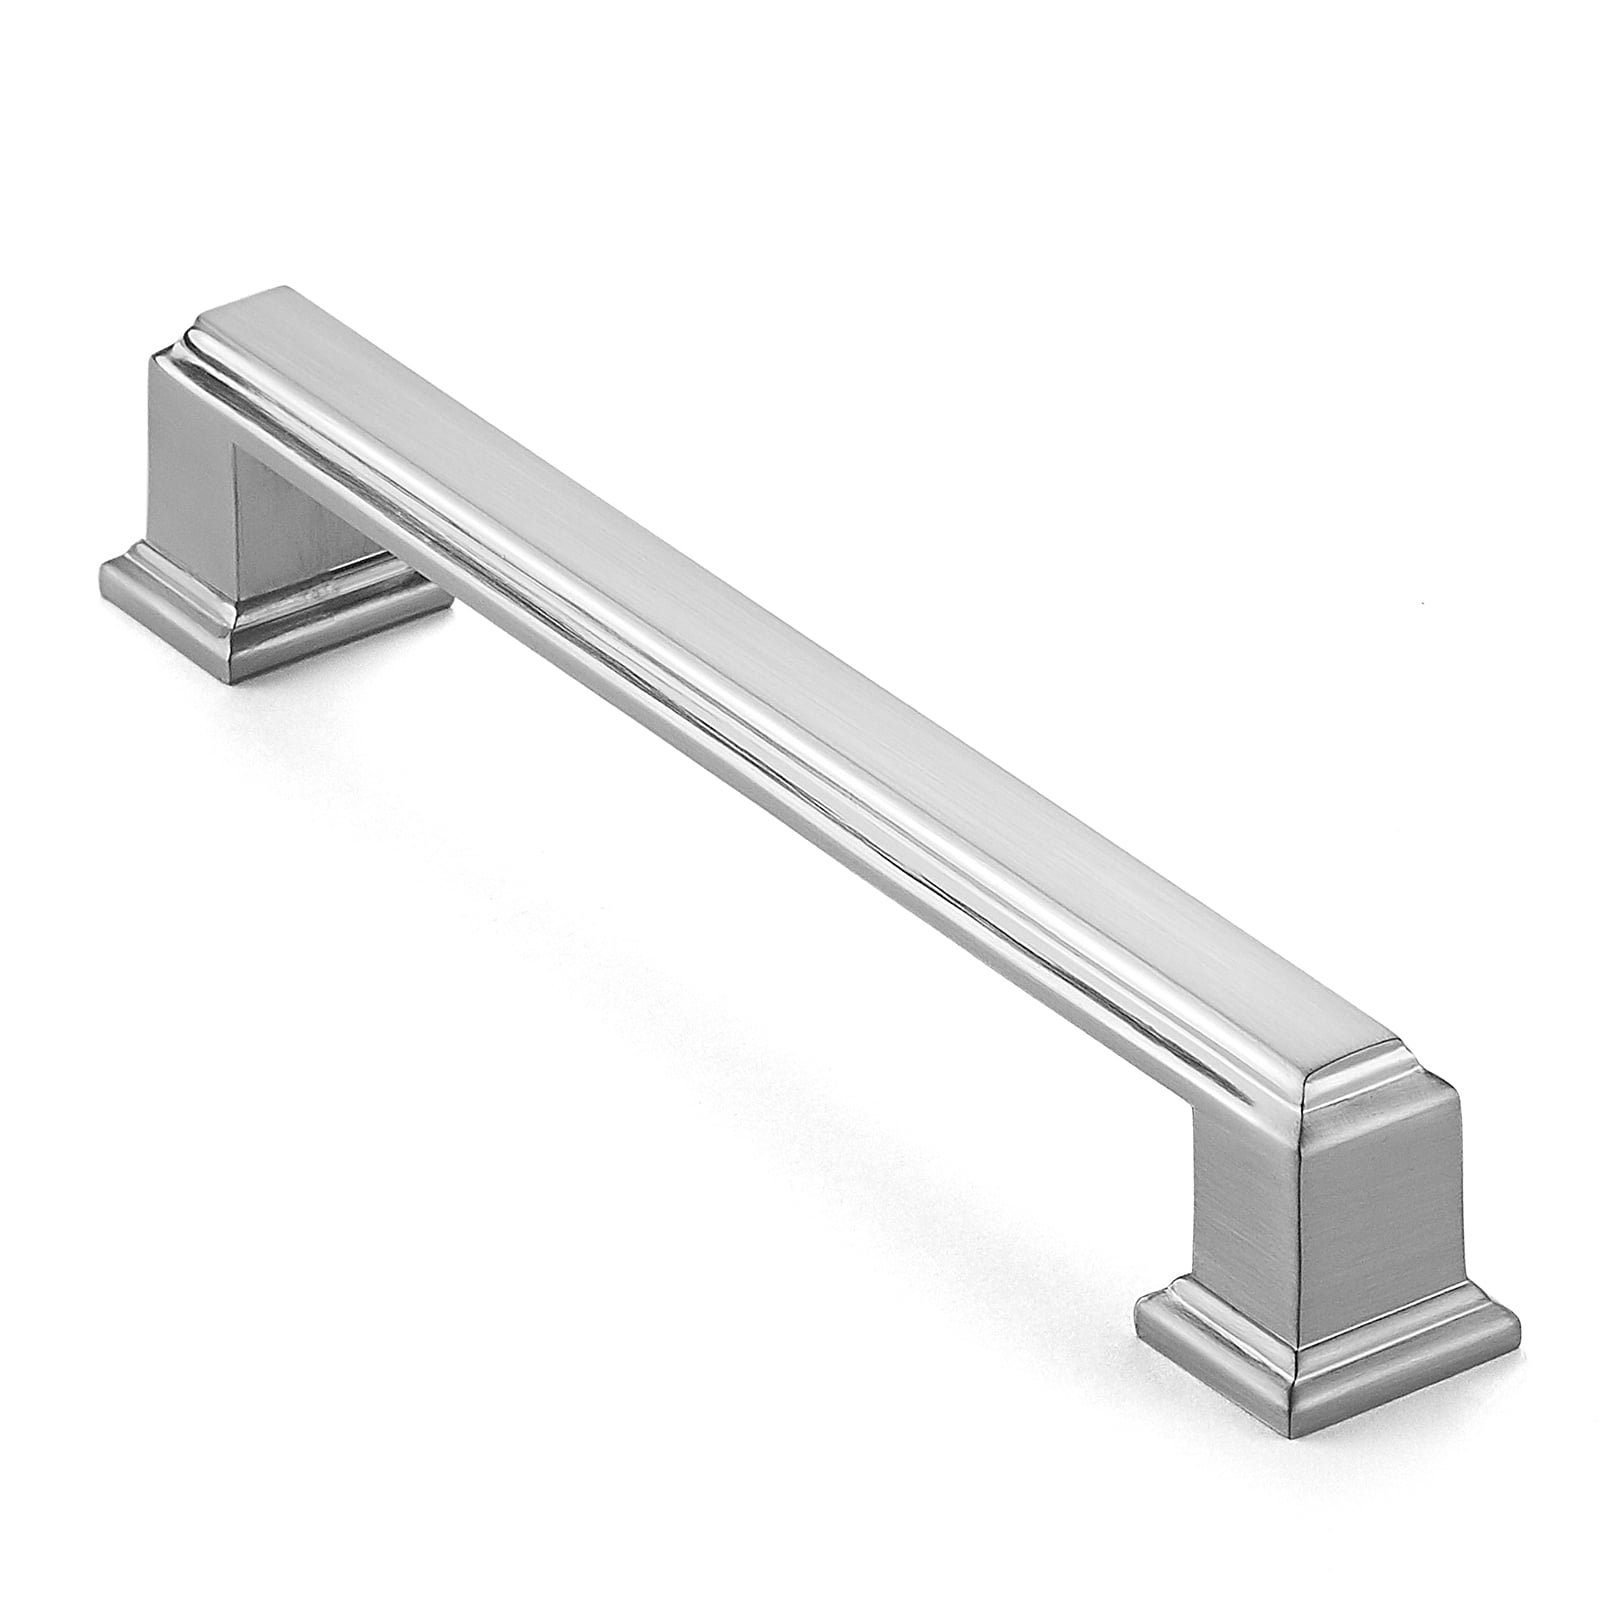
- Bar Pulls: Bar pulls, characterized by their long, straight or slightly curved shape, provide a comfortable grip and a clean, contemporary feel. Materials range from stainless steel and aluminum to wood, with finishes including matte black, oil-rubbed bronze, and satin brass. They’re especially well-suited for shaker-style cabinets.
- Knobs: While technically not pulls, 7-inch knobs are often used as handles for larger drawers or doors. They can be made of various materials like ceramic, wood, glass, or metal, and come in an extensive range of shapes, sizes, and colors. Consider ornate ceramic knobs for a traditional kitchen or sleek metal knobs for a modern space.
- Arch Handles: Arch handles present a graceful curve, adding a touch of elegance to your cabinetry. Materials like brass, zinc alloy, or even iron are commonly used, with finishes including antique brass, polished nickel, or even painted finishes for a pop of color. They tend to suit transitional or traditional kitchen designs.
- Edge Pulls: These handles are mounted directly onto the cabinet edge, creating a clean, integrated look. They’re often made from metal, such as aluminum or stainless steel, with finishes like brushed nickel or matte black. Edge pulls are perfect for modern or minimalist kitchens where a streamlined appearance is desired.
Aesthetic Appeal and Design Theme Suitability
The aesthetic appeal of a 7-inch cabinet handle is crucial in creating a cohesive kitchen design. The following table summarizes the suitability of various handle styles for different kitchen design themes:
| Style | Material | Finish | Design Theme Suitability |
|---|---|---|---|
| Cup Pull | Stainless Steel | Brushed Nickel | Modern, Minimalist |
| Bar Pull | Wood | Natural Oak | Farmhouse, Rustic |
| Knobs | Ceramic | White with floral detail | Traditional, Cottage |
| Arch Handle | Brass | Antique Brass | Transitional, Traditional |
| Edge Pull | Aluminum | Matte Black | Modern, Contemporary |
Functionality and Ergonomics of 7-Inch Cabinet Handles
Beyond aesthetics, the functionality and ergonomics of your cabinet handles are paramount. A comfortable grip and ease of use are essential for daily kitchen tasks. For example, bar pulls offer a generous surface area for a comfortable grip, especially beneficial for larger hands or when carrying items. Cup pulls, while stylish, might be slightly less ergonomic for those with smaller hands. The material also plays a role; wood handles can offer a warm and tactile experience, while metal handles provide durability and easy cleaning. Consider the weight and balance of the handle as well; a heavier handle might feel more substantial but could be less convenient for frequent use. Durability is also key; handles made of high-quality materials and construction will withstand years of daily use.
Installation and Considerations for 7-Inch Kitchen Cabinet Handles: 7 Inch Kitchen Cabinet Handles
Transforming your kitchen with stylish new cabinet handles is a rewarding DIY project. With the right tools and a little patience, you can achieve a professional-looking finish that will elevate your kitchen’s aesthetic. This section will guide you through the installation process, highlighting various methods and addressing potential challenges.
7 inch kitchen cabinet handles – Proper installation ensures not only a beautiful look but also the longevity and functionality of your new handles. Understanding the different installation methods and potential pitfalls will save you time and frustration.
Step-by-Step Installation Process
The following steps provide a general guide. Always refer to the manufacturer’s instructions included with your specific handles for detailed guidance.
- Gather your tools: You’ll need a measuring tape, pencil, drill with appropriate drill bits (pilot hole and screw size), screwdriver (Phillips or flathead, depending on your screws), level, and possibly a countersink bit (for flush screw heads).
- Plan handle placement: Measure and mark the center points for each handle on your cabinet doors and drawers. Ensure consistent spacing between handles for a balanced look. A general guideline is to center the handle horizontally and position it approximately 2.5-3 inches from the top edge for doors and drawers.
- Pre-drill pilot holes: Using a pilot bit slightly smaller than the screw diameter, pre-drill holes at your marked center points. This prevents the wood from splitting and ensures a clean installation.
- Attach the handles: Depending on the handle type (see below for details on different methods), carefully attach the handles using the provided screws. Use a level to ensure they are straight and aligned.
- Test and adjust: Open and close doors and drawers to ensure smooth operation. Make any necessary adjustments to handle placement or screw tightness.
Installation Methods Comparison, 7 inch kitchen cabinet handles
Different handle types require different installation methods. Understanding these differences will ensure a successful installation.
| Handle Type | Installation Method | Difficulty Level | Required Tools |
|---|---|---|---|
| Screw-on Handles | Screws directly into the cabinet door/drawer. | Easy | Screwdriver, drill (optional for pilot holes), measuring tape, pencil |
| Through-Bolt Handles | Bolts pass through the cabinet door/drawer, secured with nuts or washers on the inside. | Medium | Drill (for larger holes), wrench or socket set, measuring tape, pencil |
| European-Style Handles (concealed screws) | Screws are hidden behind the handle faceplate. | Medium | Allen wrench or special tool (provided with handles), drill (optional for pilot holes), measuring tape, pencil |
Addressing Installation Challenges
Even experienced DIYers can encounter challenges. Here are some common problems and their solutions.
- Misaligned holes: Carefully re-measure and re-mark the positions. If necessary, use wood filler to repair any existing holes and re-drill.
- Stripped screws: Use a screw extractor tool to remove the stripped screw. If the hole is damaged, use wood filler to repair it and re-drill a new hole.
- Handles not flush with the door: Check for obstructions behind the door or drawer. If necessary, adjust the handle placement or use shims to create a level surface.
Handle Placement and Spacing Guide
Proper placement is crucial for both aesthetics and functionality. This visual guide will help you achieve a professional and balanced look.
Imagine a cabinet door. Draw a vertical line down the center. This is your vertical guide. Then, draw a horizontal line approximately 2.5-3 inches from the top edge. The intersection of these lines is the ideal center point for your 7-inch handle. For multiple handles on a single door or drawer, maintain consistent spacing between the centers of each handle – usually 3-4 inches, but this can be adjusted to suit your preference and the size of the door/drawer. Always maintain even spacing for a symmetrical and pleasing design. For drawers, consider using the same spacing as your doors for visual consistency throughout your kitchen.

